Hello there, fellow cycling enthusiasts! If you’re like me, your mountain bike is practically an extension of your being. We adore the great outdoors, the trail beneath our wheels, and the exhilarating effort of an uphill climb. But let’s face it, sometimes the weather isn’t on our side, or perhaps we just fancy a workout from the comfort of our own homes. That’s when indoor trainers come in handy. If you’re wondering how to set up your mountain bike for indoor training, trust me, you’ve come to the right place.
Let’s roll up our sleeves and embrace the exciting project of turning your precious mountain bike into a prime piece of indoor training equipment. Don’t be daunted. It’s simpler than assembling flat-pack furniture and, at the end, you’re the proud owner of an indoor training facility. How cool is that?
“The only bad workout is the one that didn’t happen.”
In this article, we’ll guide you through each step of the process, from choosing the right trainer and preparing your bike, to physical setup and then, the fun part, getting started. We’ll cap things off with handy tips for maintaining your setup and ensuring the best possible ride, even indoors.
- Choosing the right trainer for your needs
- Preparing your mountain bike for indoor use
- A step-by-step guide to the physical setup
- Getting started: tips and tricks for effective indoor workouts
- Maintaining your setup for consistent performance
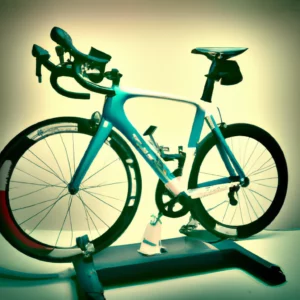
Steps to Configure a Mountain Bike for a Rear Wheel-Mounted Indoor Trainer
Setting up your mountain bike for a rear wheel-mounted indoor trainer can be a fairly straightforward process if you follow a series of specific steps. The goal here is to transform the setup you typically use for outdoor trail riding into one that is suitable for indoor training, without compromising the integrity of your bike or your comfort during workouts. Are you ready? Let’s get started.
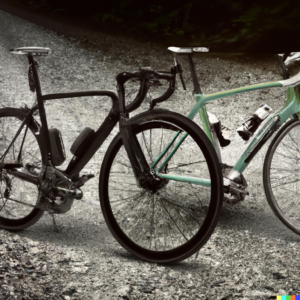
Selecting the Right Trainer
First up, you need to pick the appropriate rear wheel-mounted indoor trainer for your bike. They come in various types: classic wind trainers, magnetic trainers, and fluid trainers, to name a few. Your choice will depend on your personal preferences, budget, and end goals. A magnetic trainer can be a good starting point for beginners, offering a range of resistance options but an easier setup compared to a fluid trainer.
Switching Your Tyre
Now, hold on tight, because this is where some handywork comes into play. Mountain bike tyres are designed for gripping off-road terrain, which could cause excessive noise and wear when used on an indoor trainer. To avoid this, it’s advisable to switch your usual knobby tyre with a smoother trainer tyre or road tyre.
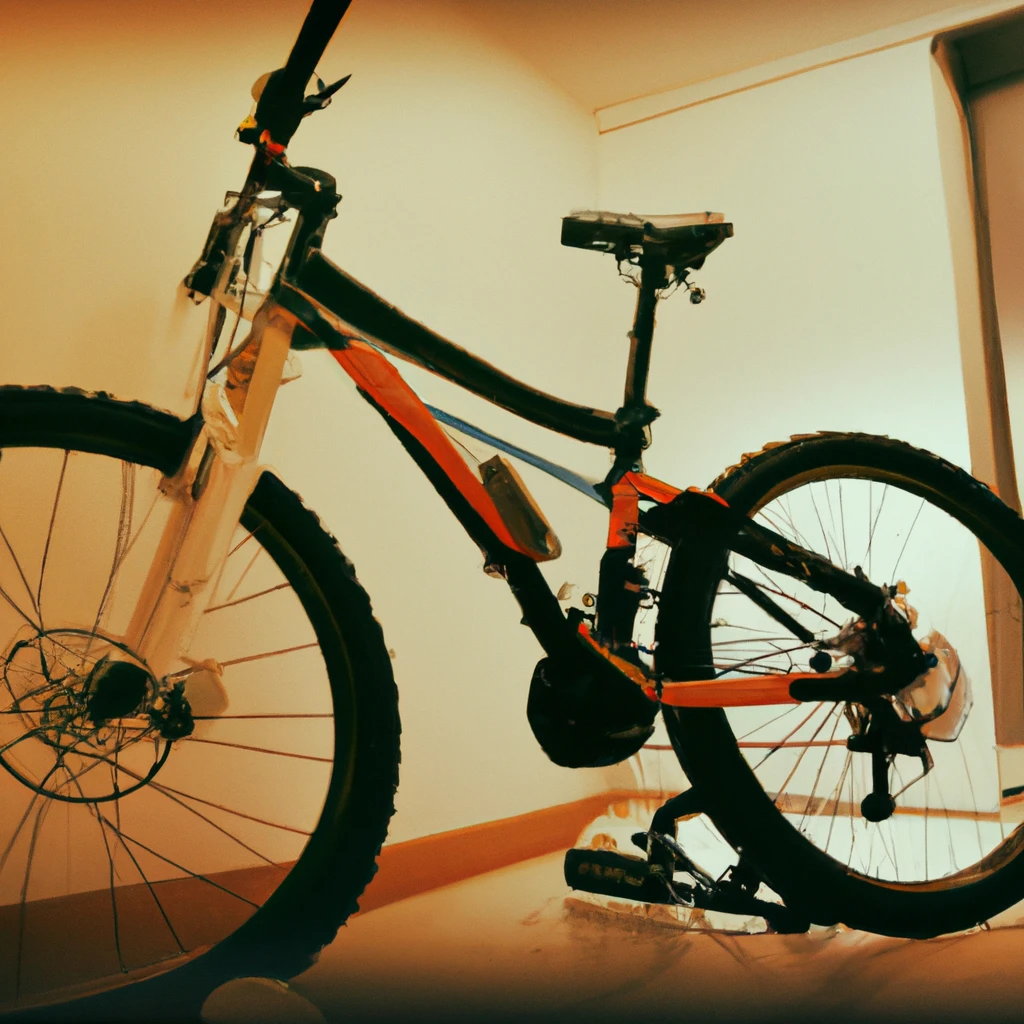
Mounting Your Bike
With your indoor trainer and smoother tyre in place, you’re now ready to mount your bike. Begin by fitting the bike’s rear skewer into the trainer’s brackets. Now, you can attach it securely into place. But how tight should it be? Well, you certainly don’t need superhuman strength here. Make sure to secure it just tightly enough that the bike can’t wobble around but still rotates smoothly.
Tuning the Resistance
Fantastic! You’re almost set. One of the final steps involves setting the resistance on your trainer, which can vary greatly based on the trainer’s model and type. This usually involves turning a knob on the trainer to press a roller against the rear wheel. Remember to adjust the resistance gradually until you feel comfortable.
Aligning Your Bike
Finally, ensure your bike is level to emulate a natural, outdoor ride. For this, use a riser block under the front wheel to match the height of the bike when it’s mounted on the trainer’s resistance unit. Voila! You’ve completed the setup process.
Now that you have your mountain bike fully set up and securely fastened onto your rear wheel-mounted trainer, you’re ready to embark on a new indoor training experience!
Setting Up Your Mountain Bike for Indoor Training with a Direct Drive Trainer
So you’ve decided to shift the gears and turn towards a direct drive trainer setup. Perfect choice! This will certainly help you in achieving a more realistic outdoor cycling experience indoors. However, setting it up might seem like a daunting task. Not to worry, it’s simpler than you think and I’ll guide you through the entire process!
Remove the Rear Wheel of Your Mountain Bike
First off, start by removing the rear wheel of your mountain bike. Yea that’s right, the rear wheel needs to be detached when setting up for a direct drive trainer. This is because with this kind of trainer, your bike’s rear dropouts attach directly to the device, eliminating the need for a rear wheel to generate resistance. It saves tyre wear and reduces noise, great isn’t it?
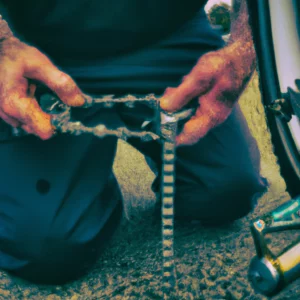
Install the Cassette on the Trainer
The next step is the installation of the cassette. Now don’t get antsy if this is your first time. Often the most daunting part, once you’ve done it, it becomes a breeze. Your trainer should come with a compatible cassette or you may need to buy one that matches the gears on your bike. For installation, you’ll need a couple of tools: a cassette lockring tool and a chain whip. Tighten the lockring to secure the cassette onto the direct drive trainer. It sounds technical, but trust me, if I can do it, so can you!
Attach Your Bike
With the cassette in place, we’re almost done! You simply have to mount your bike onto the trainer. The drive side of your mountain bike aligns with the now installed cassette. Then, line up the dropouts with the corresponding slots on the trainer. With most trainers, you’ll then use a special quick-release skewer or thru-axle (based on what your bike uses) to secure your bike to the trainer. Give it a good tug to make sure it’s solidly in place.
Check for Accurate Alignment
Once your bike is securely connected, it’s time for the final setup check: alignment. This might not seem every bit important, but believe me it counts for a smoother and quieter training experience. Ensure that your bike chain is matching up nicely with the trainer’s cassette, with the gears shifting smoothly. If it doesn’t, some minor adjustments might be required.
Easy-peasy right? Now your mountain bike is all set for you to pedal away and conquer that imaginary yet exhilarating mountain terrain from the comfort of your own home. Setting up your mountain bike with a direct drive trainer not only makes your indoor training sessions realistic but also systematic and efficient. So gear up and let’s conquer those miles!
Ensuring Bike Stability: How to Safely Secure Your Bike on the Indoor Trainer
Now, let’s talk about a crucial factor: ensuring your bike’s stability while on the trainer. It’s essential that your mountain bike is stable and secure during your indoor training session. With a shaky setup, not only is safety compromised, but also your training efficiency could take a hit. No one likes a wobble interrupting their intense sprint session, right? So, how do we go about safely securing your bike on the indoor trainer? Well, it’s relatively simple.
Positioning the trainer correctly
First, make sure your trainer is on a flat, solid surface. This alone can significantly reduce the chance of any wobble. Position the trainer away from walls or furniture, about a couple of feet should do the trick. This cushion space allows for the bike to shift slightly without damaging anything. Using a trainer mat under your setup can help absorb vibrations, reducing noise and giving a more stable feel.
Securing your bike
Next, secure the bike on the trainer according to the manufacturer’s instructions. Ensure the clamping mechanism is tight but not over-tightened. Whether you’re using a direct drive trainer or a rear-mounted trainer, your bike should feel firm and steady. In the case of rear wheel trainers, a trainer skewer is preferable as it provides a more secure fit.
Checking your setup
Once secure, give your seat and handlebars a firm push to check for any signs of instability. If you notice a bit of a wobble, adjust the trainer or re-secure the bike until it is stable. Rember, investing a little extra time here can save you a lot of hassle (and possibly a tumble!) later.
Monitoring the stability
Finally, keep an eye on your setup stability throughout your training. If you feel the bike moving unusually, stop and check it again. It’s much safer to interrupt your session for a few minutes rather than continuing on an unstable setup.
In conclusion, a stable and secure training setup can reduce the risk of accidents and ensure a productive indoor workout. So next time you set up your mountain bike for an indoor training session, remember these tips and enjoy a safer ride.
Training Accessories: Must-Have Gear for Indoor Sessions
So now that your mountain bike is all ready for indoor training let’s add some cherry to the top. I mean to say, some additional accessories can significantly enhance your indoor cycling experience. Here are a few must-have accessories that you should consider:
- Cycling Shoes: A pair of good quality indoor cycling shoes can greatly enhance your pedalling efficiency. These shoes have a stiff sole to deliver power effectively to the pedals.
- Heart Rate Monitor: This gadget helps you monitor your heart rate during the workouts. It lets you predict your fitness level and also how hard you’re pushing yourself. A variant of this tool that is very popular these days is the ‘fitness band’.
- Cycling Shorts: Trust me, your comfort is paramount, and good padded shorts can ramp up your cycling sessions.
- Fan: Things can get pretty heated up during training indoors. That’s why a fan can be essential to keep things cool while you’re cycling away.
- Water Bottle: Hydration is essential no matter what the workout. Make sure you have a water bottle within easy reach.
- Floor Mat: A mat under your setup can catch sweat, reduce noise and prevent your equipment from shifting around.
- Cycling Computer or App: These can provide real-time data about your speed, distance, time, calories burned and more, making your training more effective and engaging.
Consider these training tech accessories as investments in your fitness goals. Not only will they make your training sessions more enjoyable, but they can also help increase your performance while providing you with important feedback and valuable data on your progress.
Remember, the best accessories for you depend largely on your fitness goals and personal preferences. Hence, take the time to explore and discover what works best for you. Happy indoor cycling!
Warm-up and Cool-down: Essential Steps for Injury Prevention
Every training programme, be it indoors or outdoors, deserves an appropriate preamble and closure. These involve proper warm-ups before the exercise and a thorough cool-down afterwards. Why, you ask? Because they help us avoid most common pitfalls: injuries. The same rules apply when training on your mountain bike indoors. So, before you leap onto that saddle, spare a thought for these crucial details.
The Art of Warming Up
The warm-up acts as a wake-up call to your muscles, gradually preparing your body for the more strenuous exercise to come. Here’s a simple warm-up routine you can incorporate into your indoor cycling practice routine.
- Light cycling: Start with five minutes of light cycling at a moderate pace. This serves to increase the blood circulation and gradually raise the body temperature.
- Dynamic stretching:Now, incorporate dynamic stretches for about another five minutes. Movements like leg swings, arm rotations, and waist twists help to enhance the flexibility of joints and muscles.
- Mock cycling:Finish your warm-up with a final five-minute segment of cycling at a slightly higher intensity. This step prepares your body to shift into the major workout zone.
Cooling Down: The Final Farewell
Just as vital as the warm-up, the cool down serves to ease your body out of high-intensity mode back into resting state. Here’s a simple structured cool-down strategy to follow post-workout.
- Slowing down: Spend the first five minutes after the workout winding down by cycling at a slow, comfortable pace. This helps to flush out lactic acid build-up in your muscles, reducing post-workout stiffness and soreness.
- Static stretching: When your heart-rate has dropped, spend another five observing static stretching. Aim to hold each stretch for between ten to thirty seconds. This aids in relaxing your muscles and increasing your flexibility.
- Hydrate and restore: Finally, stay well-hydrated and give your body the fuel it needs to recover by consuming a healthy post-workout meal or snack.
Remember, gearing up your mountain bike for indoor workout isn’t just about setting up the machine; it’s about setting up your body too. So, split some time before and after for the warm up and cool down rituals, because injury prevention is always better than cure.